Streamline Your Next.js App Deployment Process with Vercel

Streamline your Next.js app deployment process with Vercel, a platform that offers seamless integration, automatic scaling, and global CDN for top performance.
In this article, we'll walk you through the steps to deploy your Next.js app on Vercel, from running it locally to pushing it to GitHub and finally deploying it to Vercel.
I adhere to the following professional practice to ensure accountability: upon initiating a project, I deploy it to Vercel and share the URL via Twitter, thereby announcing its development.
I highly recommend adopting a similar approach to build projects and develop them publicly.
Before we build the project and deploy it to Vercel, let's clarify one burning question.
Why choose Vercel?
Vercel is ideal for Next.js projects due to seamless integration, automatic scaling, fast deployments, and a global CDN for top performance.
As you will see in the blog, it just takes a couple of minutes to go from local to production.
Run Locally:
To run the Next.js application, simply execute "npm run dev" in the root of the folder.

This simple command builds the application and runs it on localhost:3000. The next step is to push the code to GitHub.
Push the code to GitHub.
You can create an empty repository on GitHub. Go to your GitHub and select a new repository.

Now create the repository without initializing any files.

Once done, add the repo to your repository by following the instructions given by GitHub.

Now's the time to deploy your application to Vercel.
Deploy to Vercel
If you haven't signed in to Vercel yet, be sure to do so. It's the Apple of cloud providers, making application deployment easy and offering numerous features. Plus, they have a generous free tier.
Be aware of the costs after the free tier, as it is definitely premium and has a price similar to Apple products.
After signing in, you'll be prompted to link your Github account. Go ahead and do so.
Now that you have done that, let's start by deploying the application. You only need to select the Github repo that needs to be deployed.
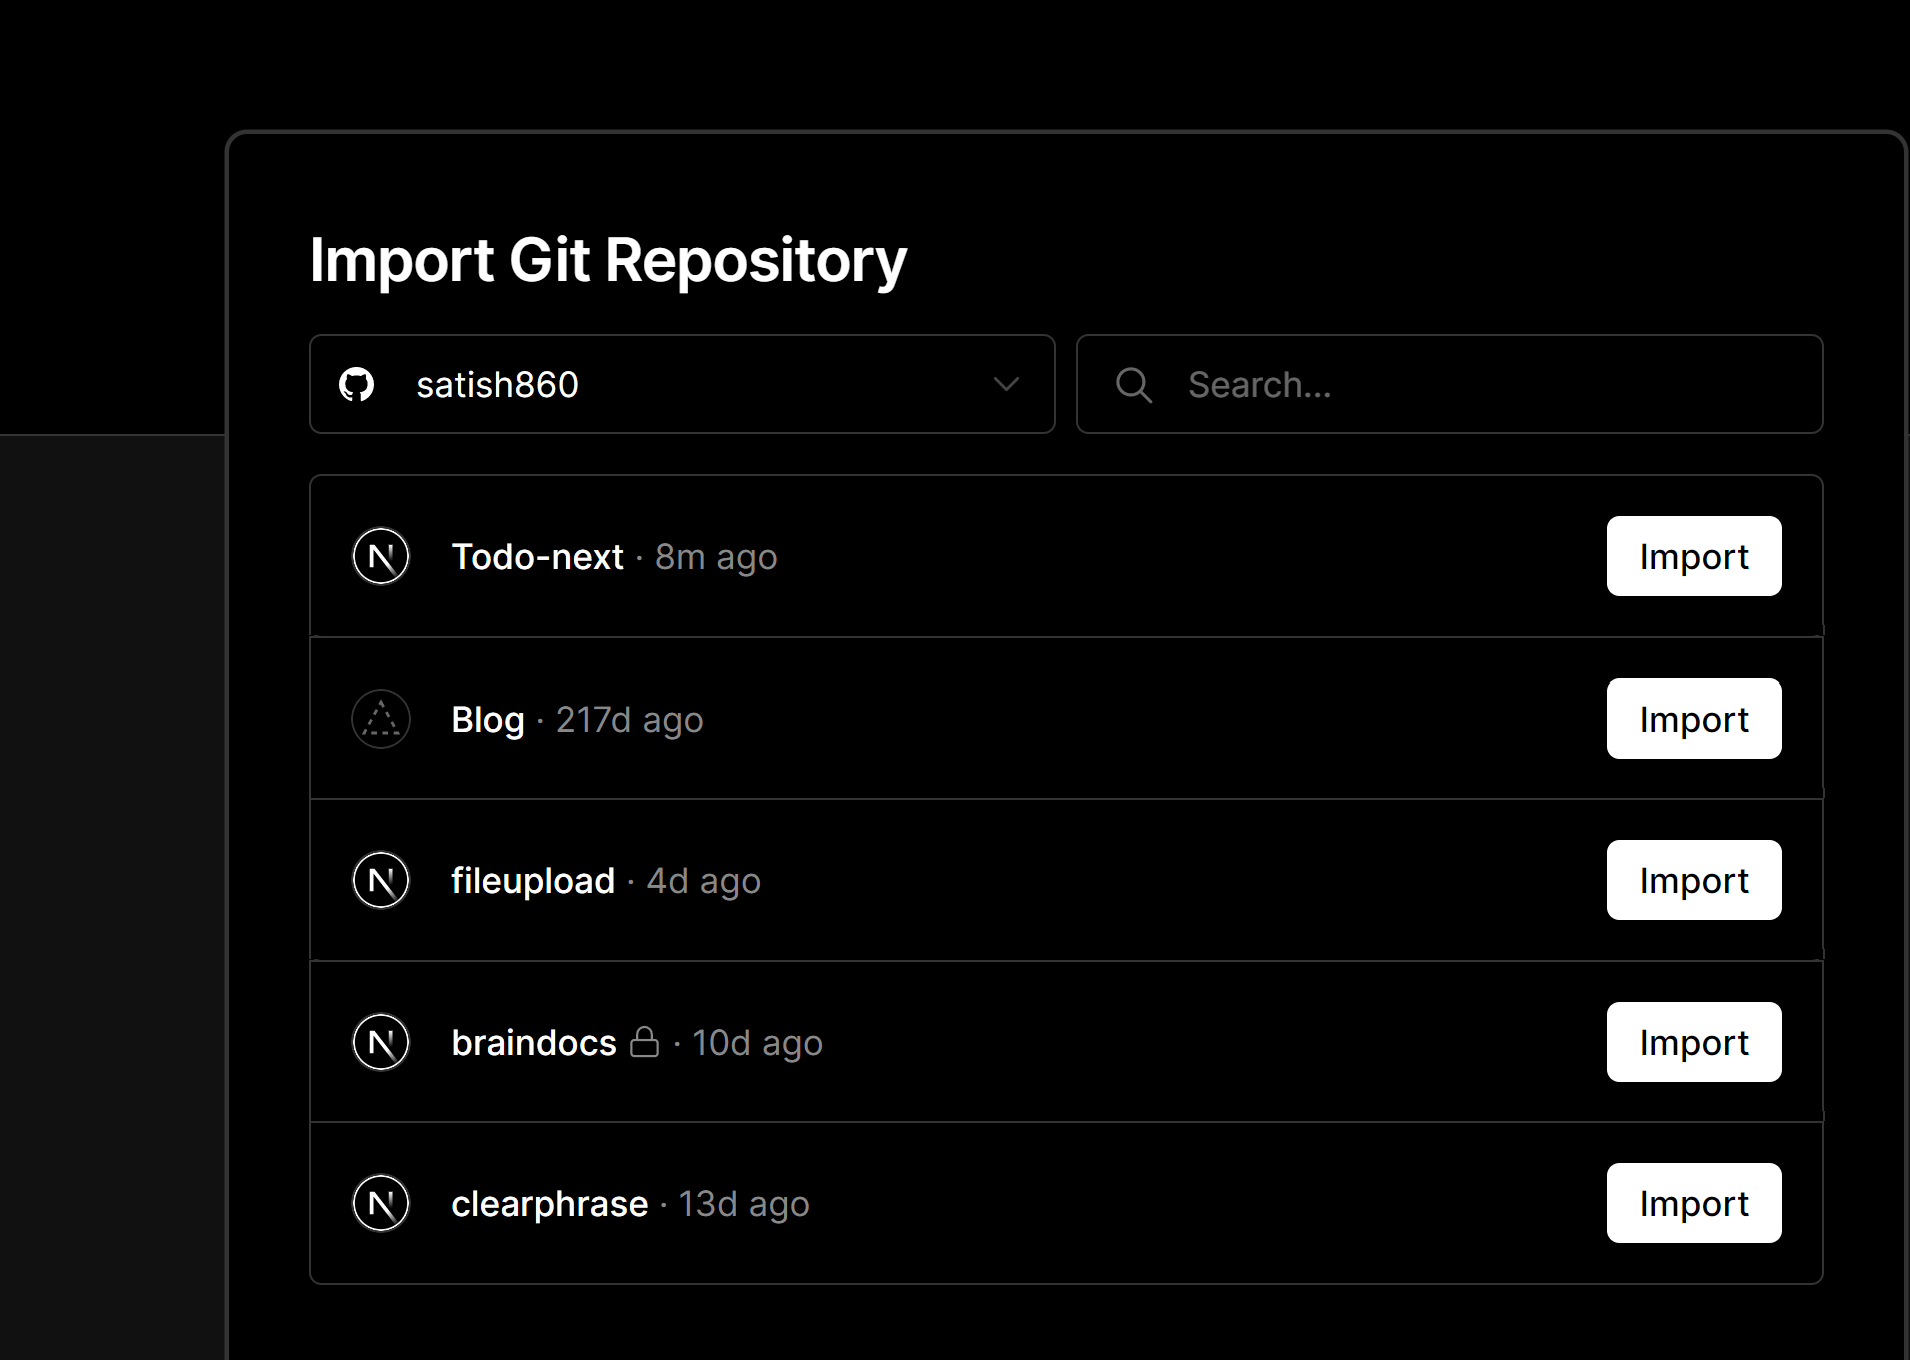
In our case, select the Todo-Next, which is our github repo and deploy the same.
Once you import it, the application will be automatically deployed to Vercel, and a continuous delivery pipeline will be set up. This way, every time you check in code, it will be deployed to production.
congratulations! your application is deployed to production.

Well, now that we have set up the application, we will begin with the Todo-Application.
In the upcoming blog post, we will implement login functionality using Clerk and create the UI using ShadCN. Be sure to subscribe to learn more about this series.
