


Digital Ocean is one of the simplest cloud providers compared to AWS, GCP, and Azure. They offer the best prices but have just enough service to build highly scalable applications. So for anyone starting a cloud journey, I highly suggest doing it with Digital Ocean.
So go ahead and use Digital Ocean and learn cloud computing. Here's a $200 free credit for doing so.
Digital Ocean Spaces
Digital Ocean spaces are S3-compatible object storage. For most of my side hustle projects, I use Digital Ocean because it provides 250 GB of storage for $5 (400 rs) per month and free CDN on top of it.
In this blog, I will explain how to set up Digital Ocean spaces with CDN enabled and use the Dotnet AWS SDK to upload a file and download the same.
Spaces Setup
Start by signing up for Digital Ocean using the $200 free credit. Once you are into creative projects,
A project is a way to organize the resources used in the cloud. It is also a nice way to experiment with multiple resources and clean up once it is done
You will be presented with the following screen

Once the project is created select Spaces from the Left-side menu, You should be seeing a similar screen
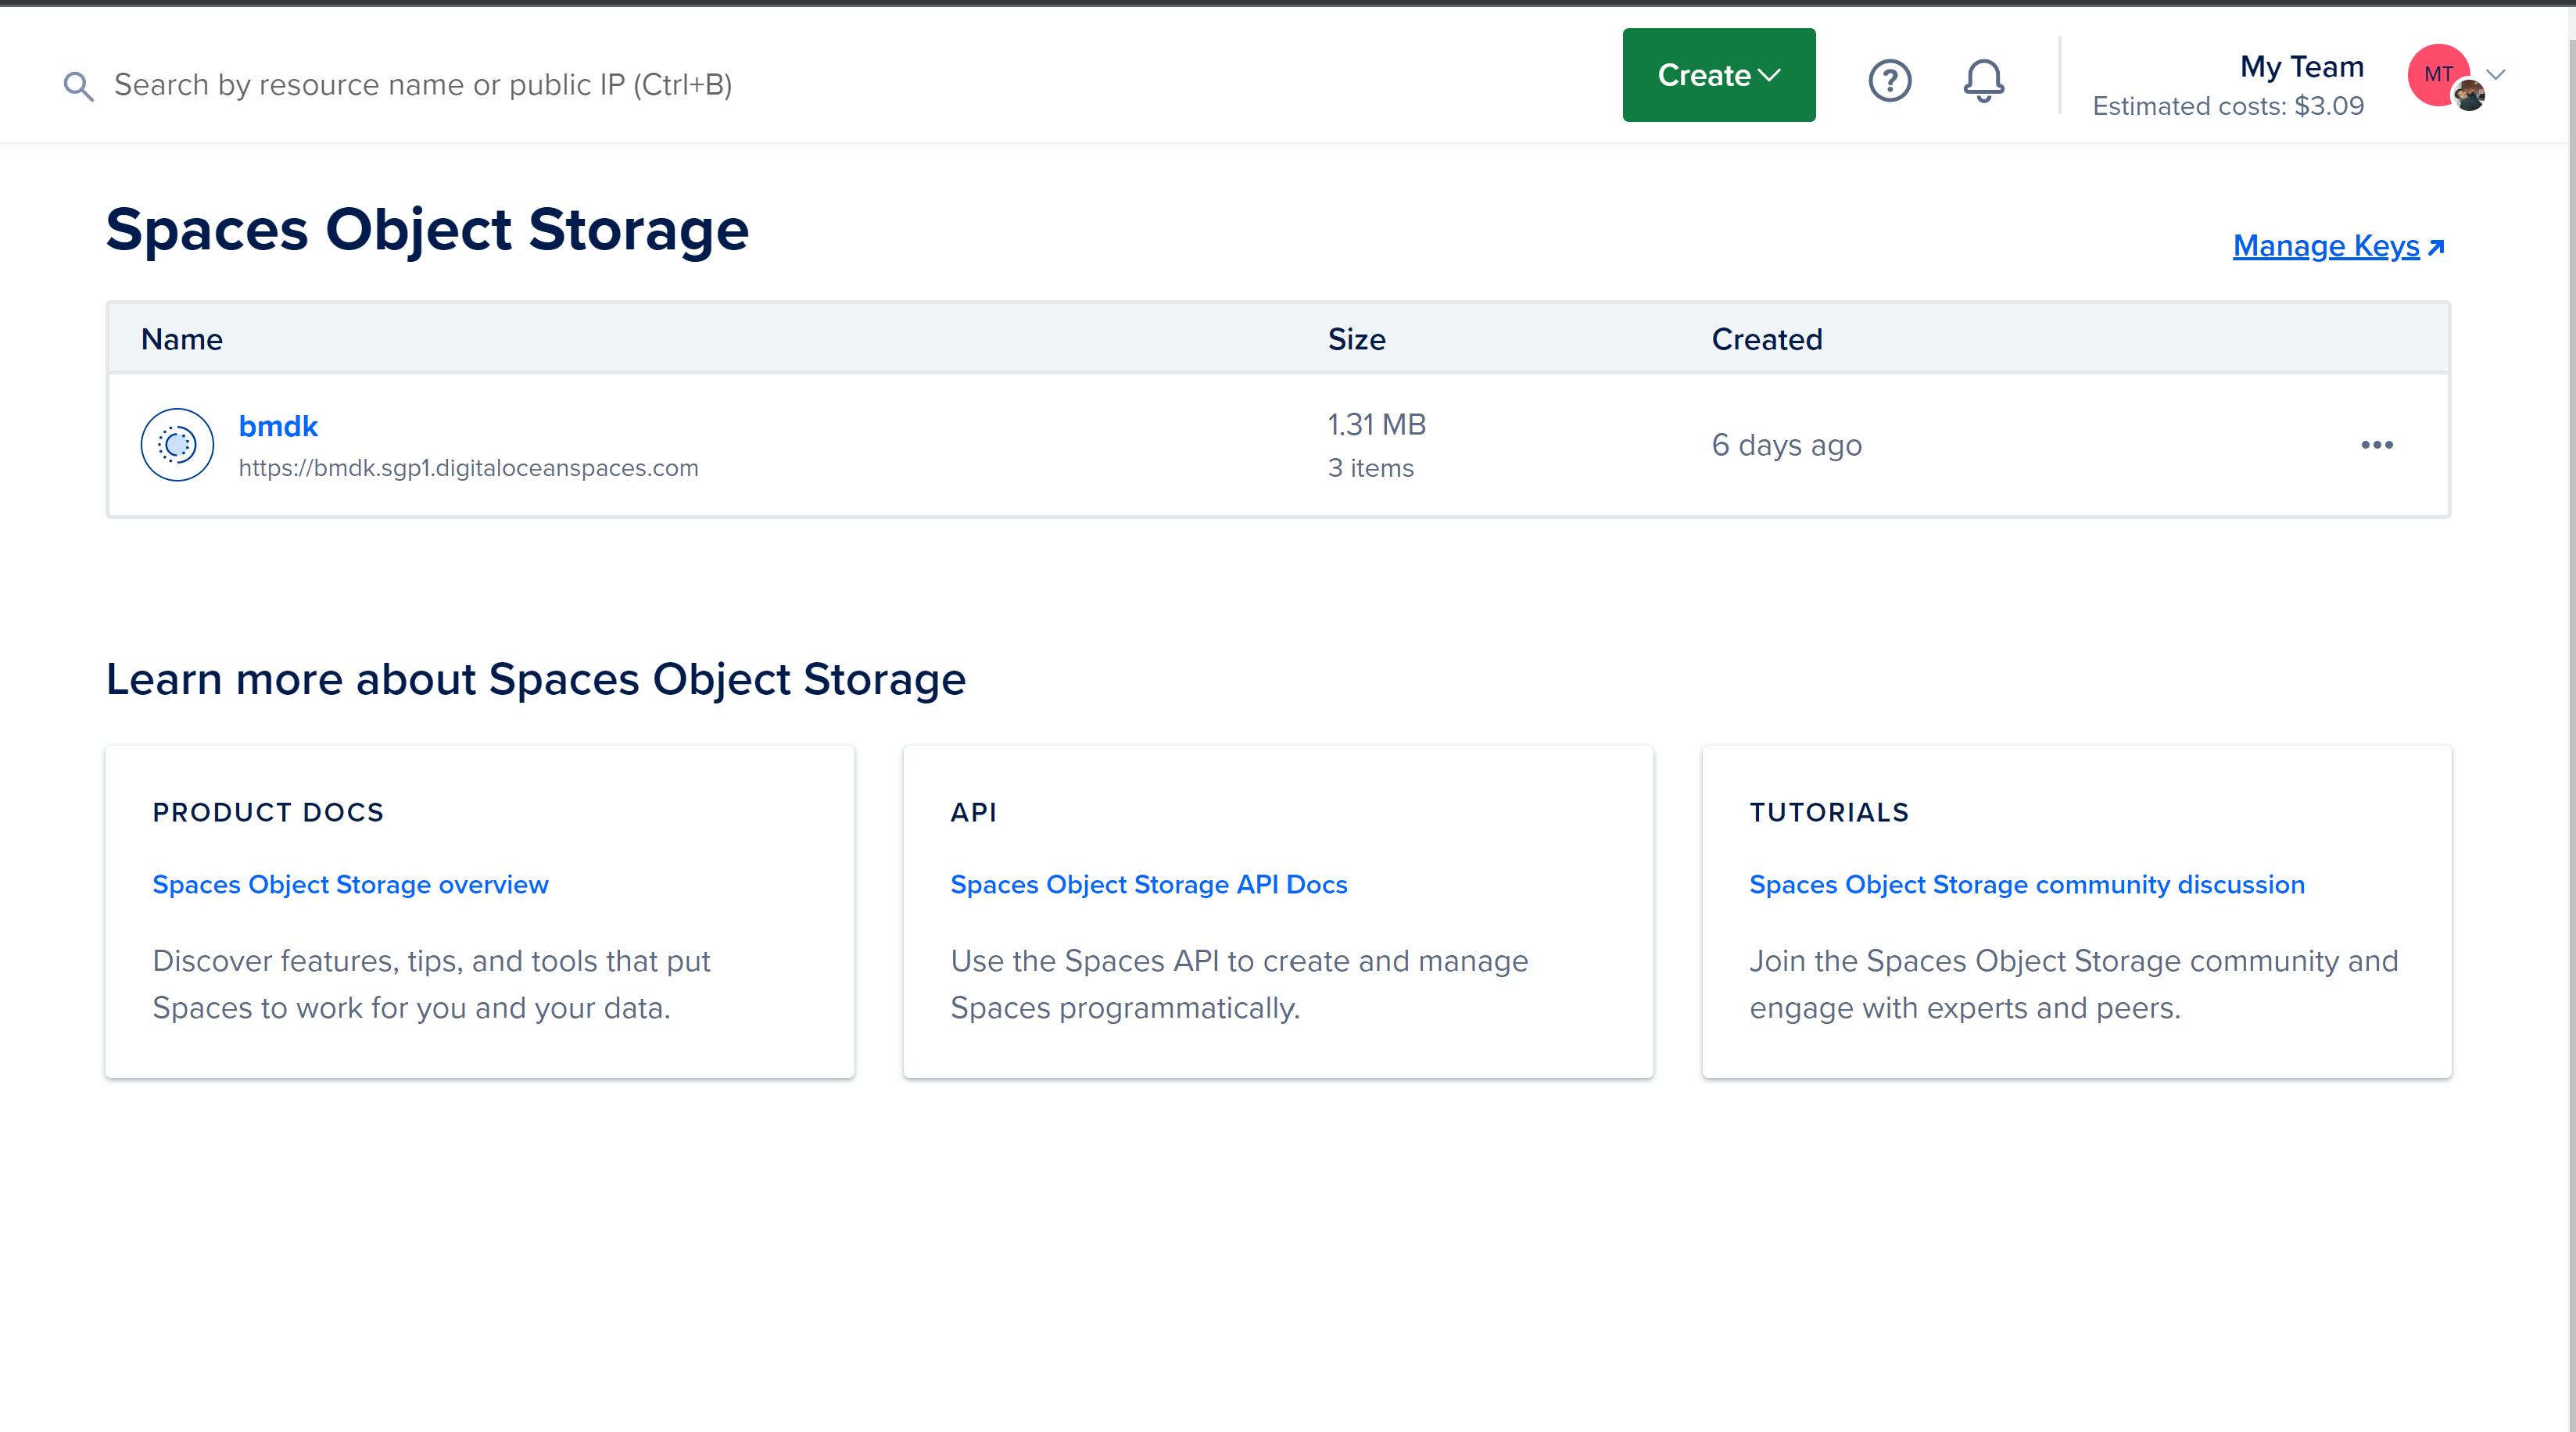
You can click on the create button at the top to create new spaces
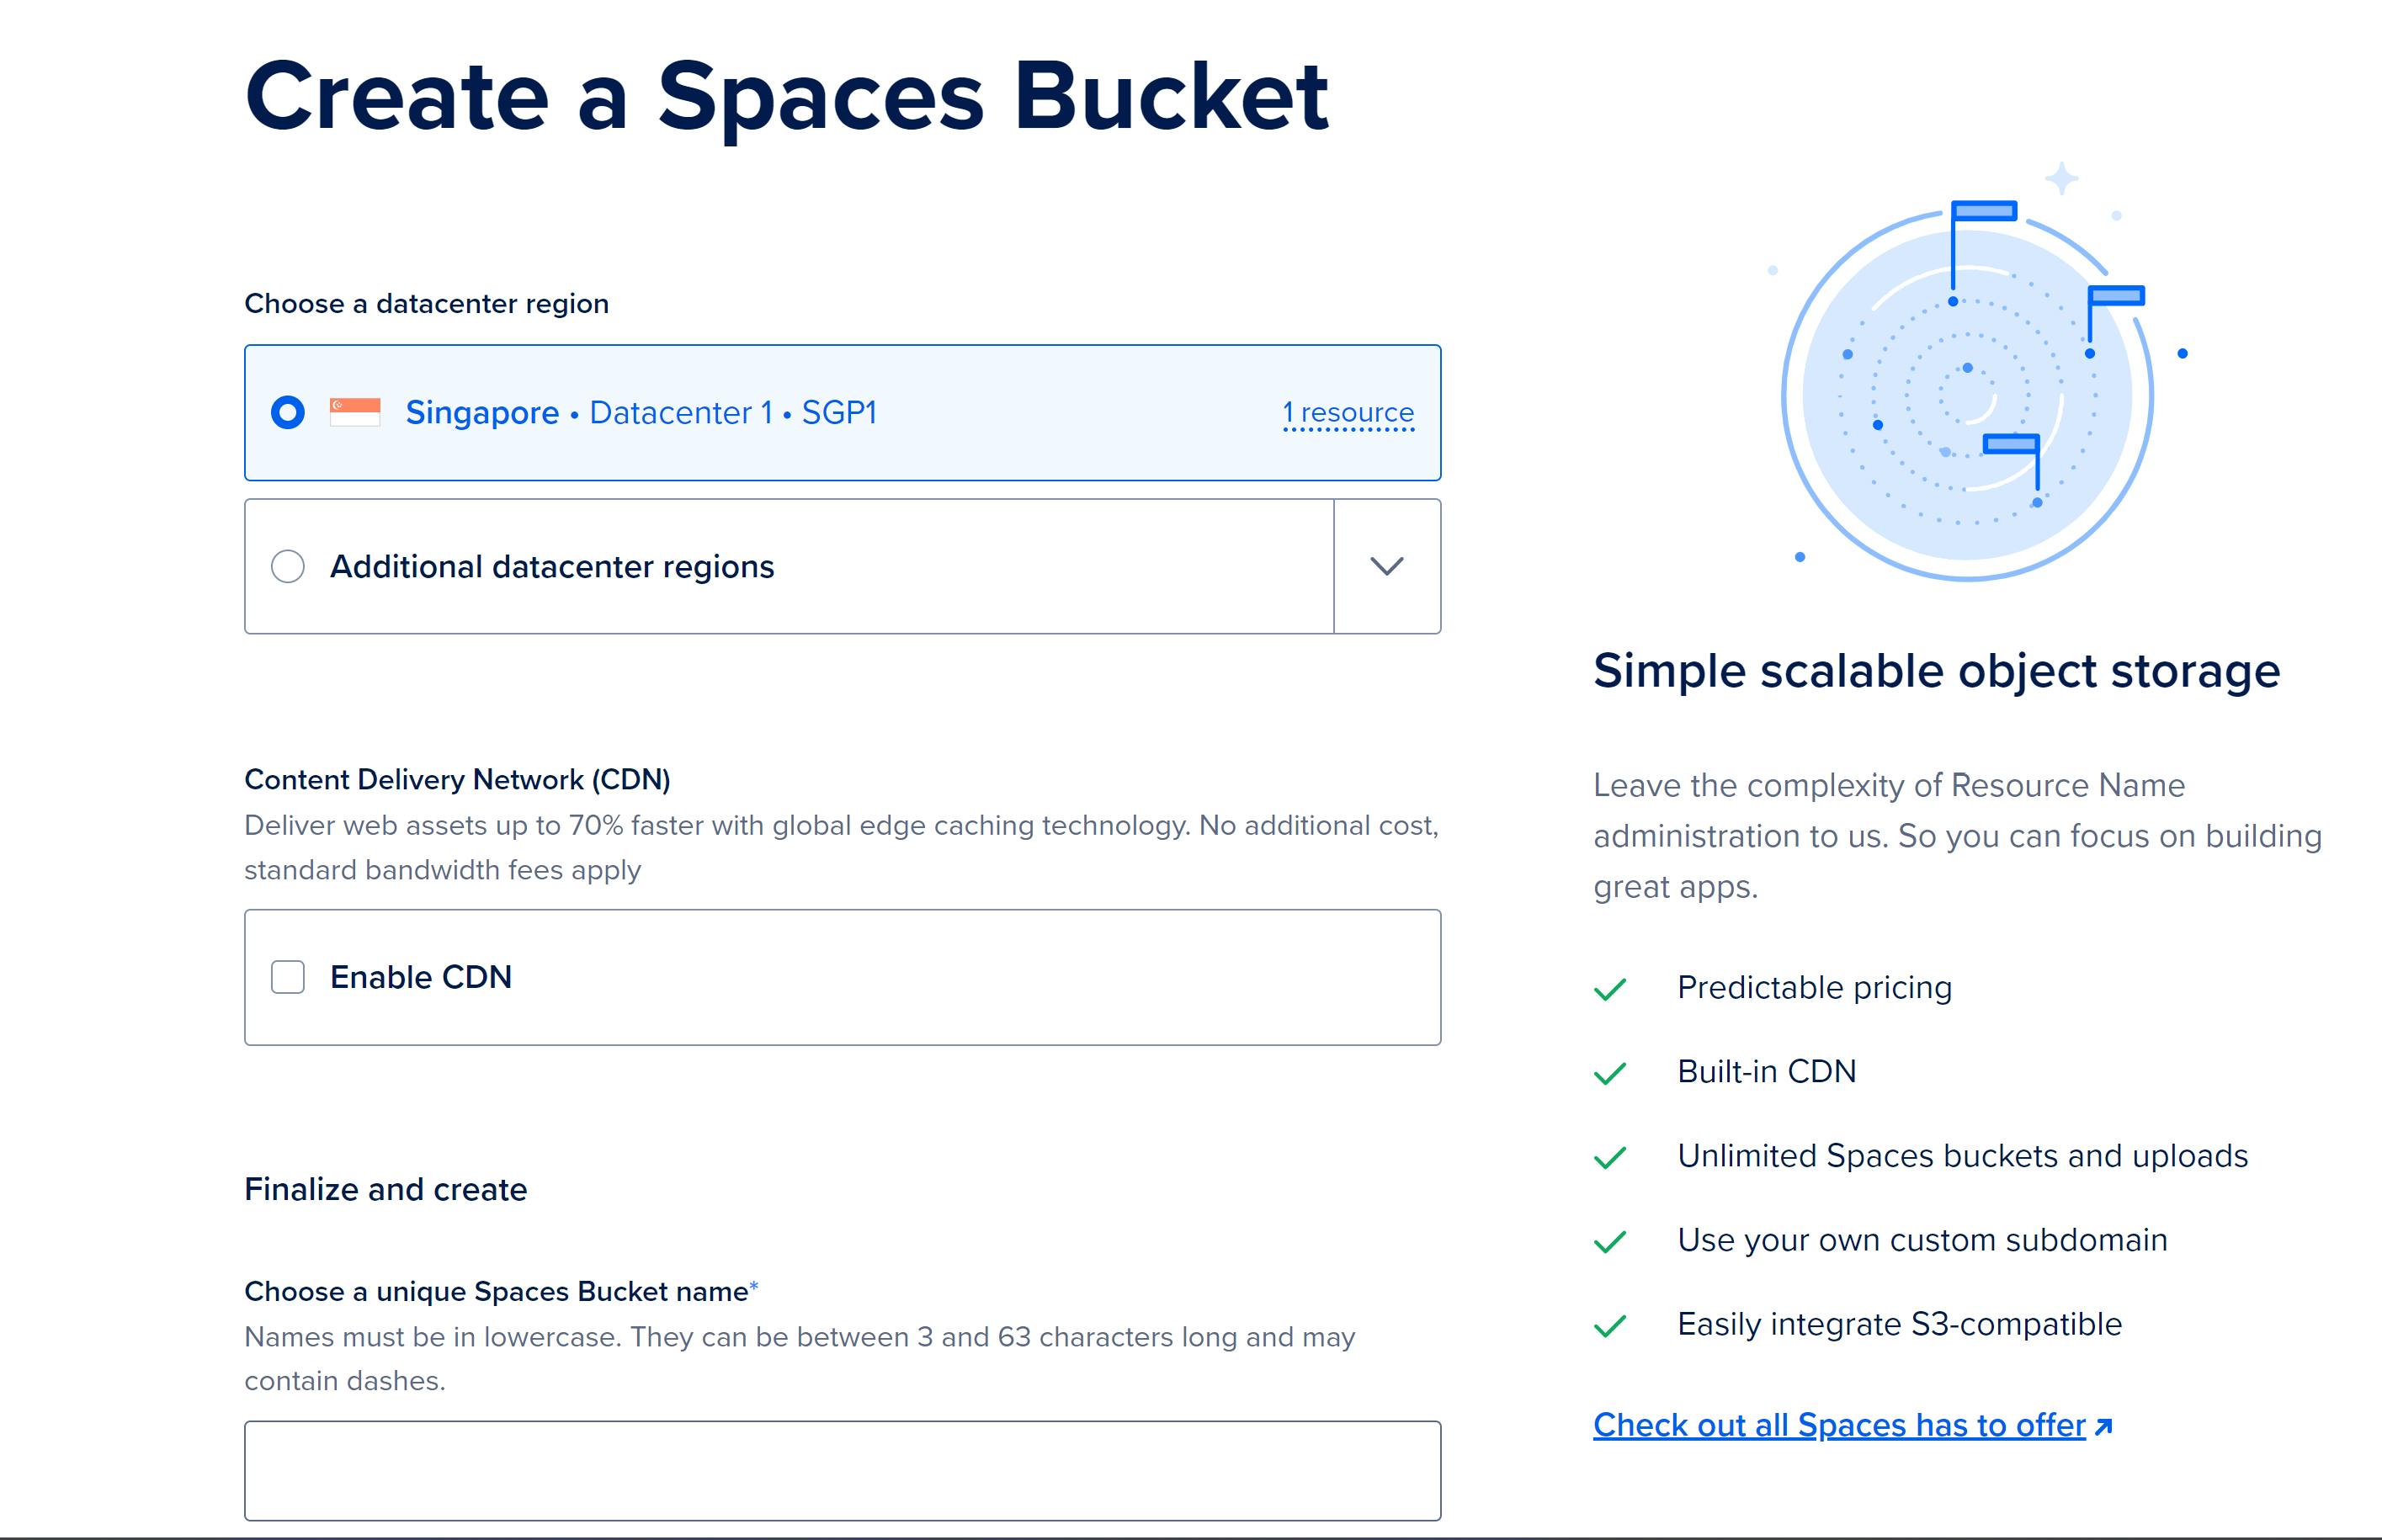
Select the nearby data center, enable the CDN (at no additional cost), and give it a unique name. Then click on "Create Bucket."
You can always use the UI to upload the files, but we will take a turn and use the AWS SDK to upload and download the file in an upcoming blog post